Raise the steaks: Tips for processing your deer and elk meat


It’s hard to beat a well-prepped, perfectly cooked steak — especially after all the time and effort you spent hauling it out of the mountains. But other methods of preparation can be just as satisfying. All it takes is a little bit of work and some kitchen ingenuity.
Now, if you’re as devout a steak snob as Ron Swanson, then this article probably isn’t for you. And it’s understandable; that deer or elk lying in the freezer is finite, like an annual birthday cake. There’s no quick trips down to the supermarket to replenish supply when a recipe runs short. So making the most of an animal and processing it how it fits the menu best is the most important part.
With that said, here are five prep tips and styles to help get the most out of that fall big game harvest.
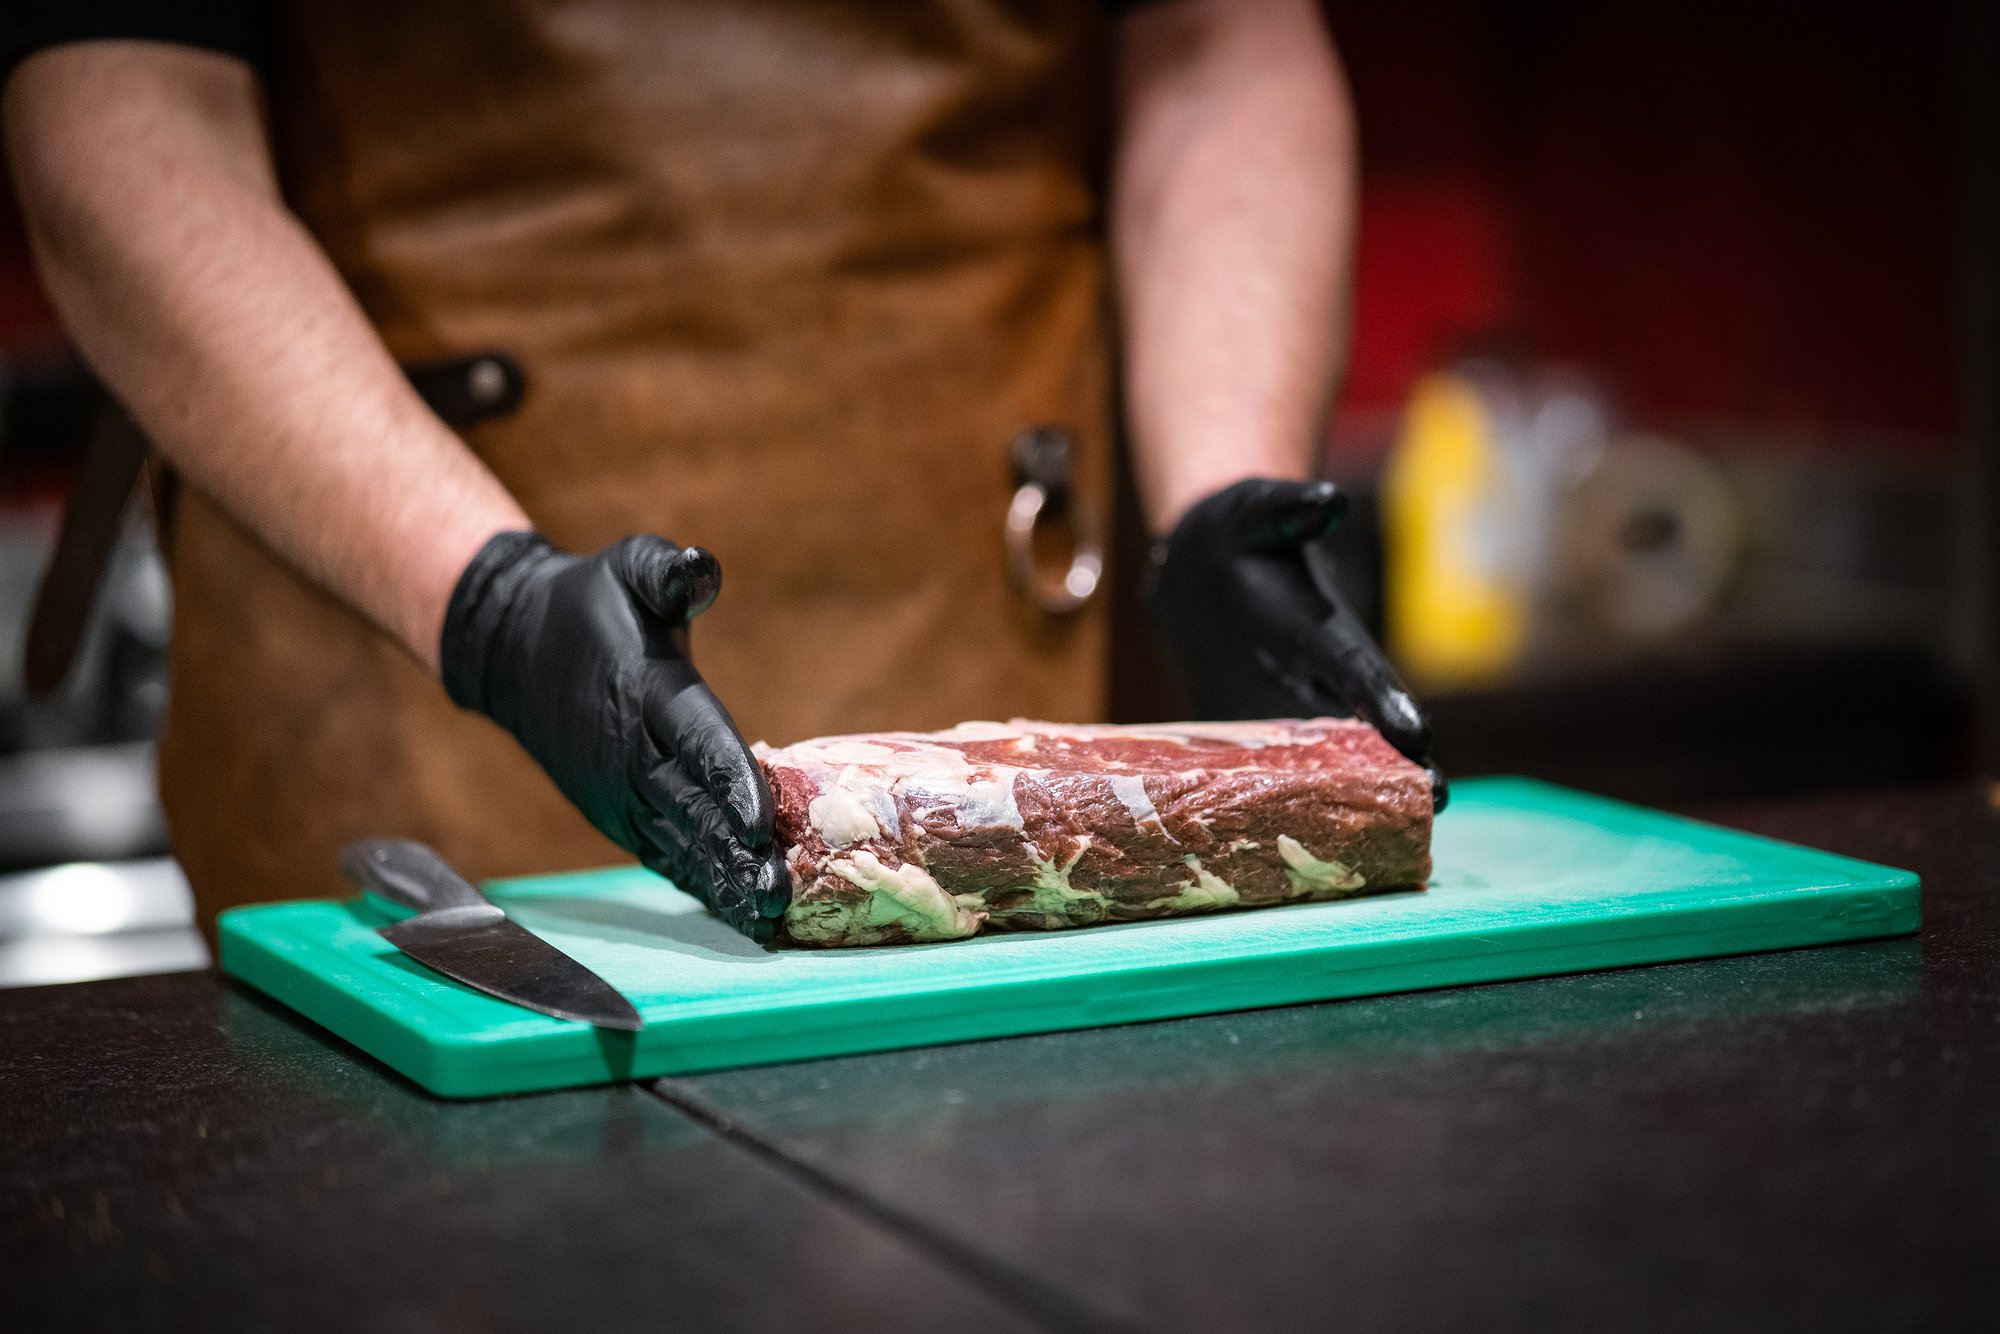 A butcher prepares wild game meat.
1. Be your own butcher
At this point in the game, the time spent in the field gutting and quartering the animal might be all the knife-wielding hunters are up for. Many hunters have their big game animals processed by professional butchers. But processing your own deer or elk can actually be a fun learning experience and a chance to call the shots in how the animal is cut up.
With a large, sanitary cutting surface, sharp knives and ample patience, prepare cuts of meat one at a time. Processing a whole hindquarter is more time consuming than folks realize, so don’t get caught leaving the rest of the meat out too long at room temperature. Bacteria grows most rapidly between 40 and 140 degrees, doubling in number in as little as 20 minutes.
Try to keep the on-deck meat in the fridge until it's ready to process. It’s better to take time on one slab of the animal knowing the rest is kept cool.
HOT TIP: The colder the meat is, the easier it is to cut.
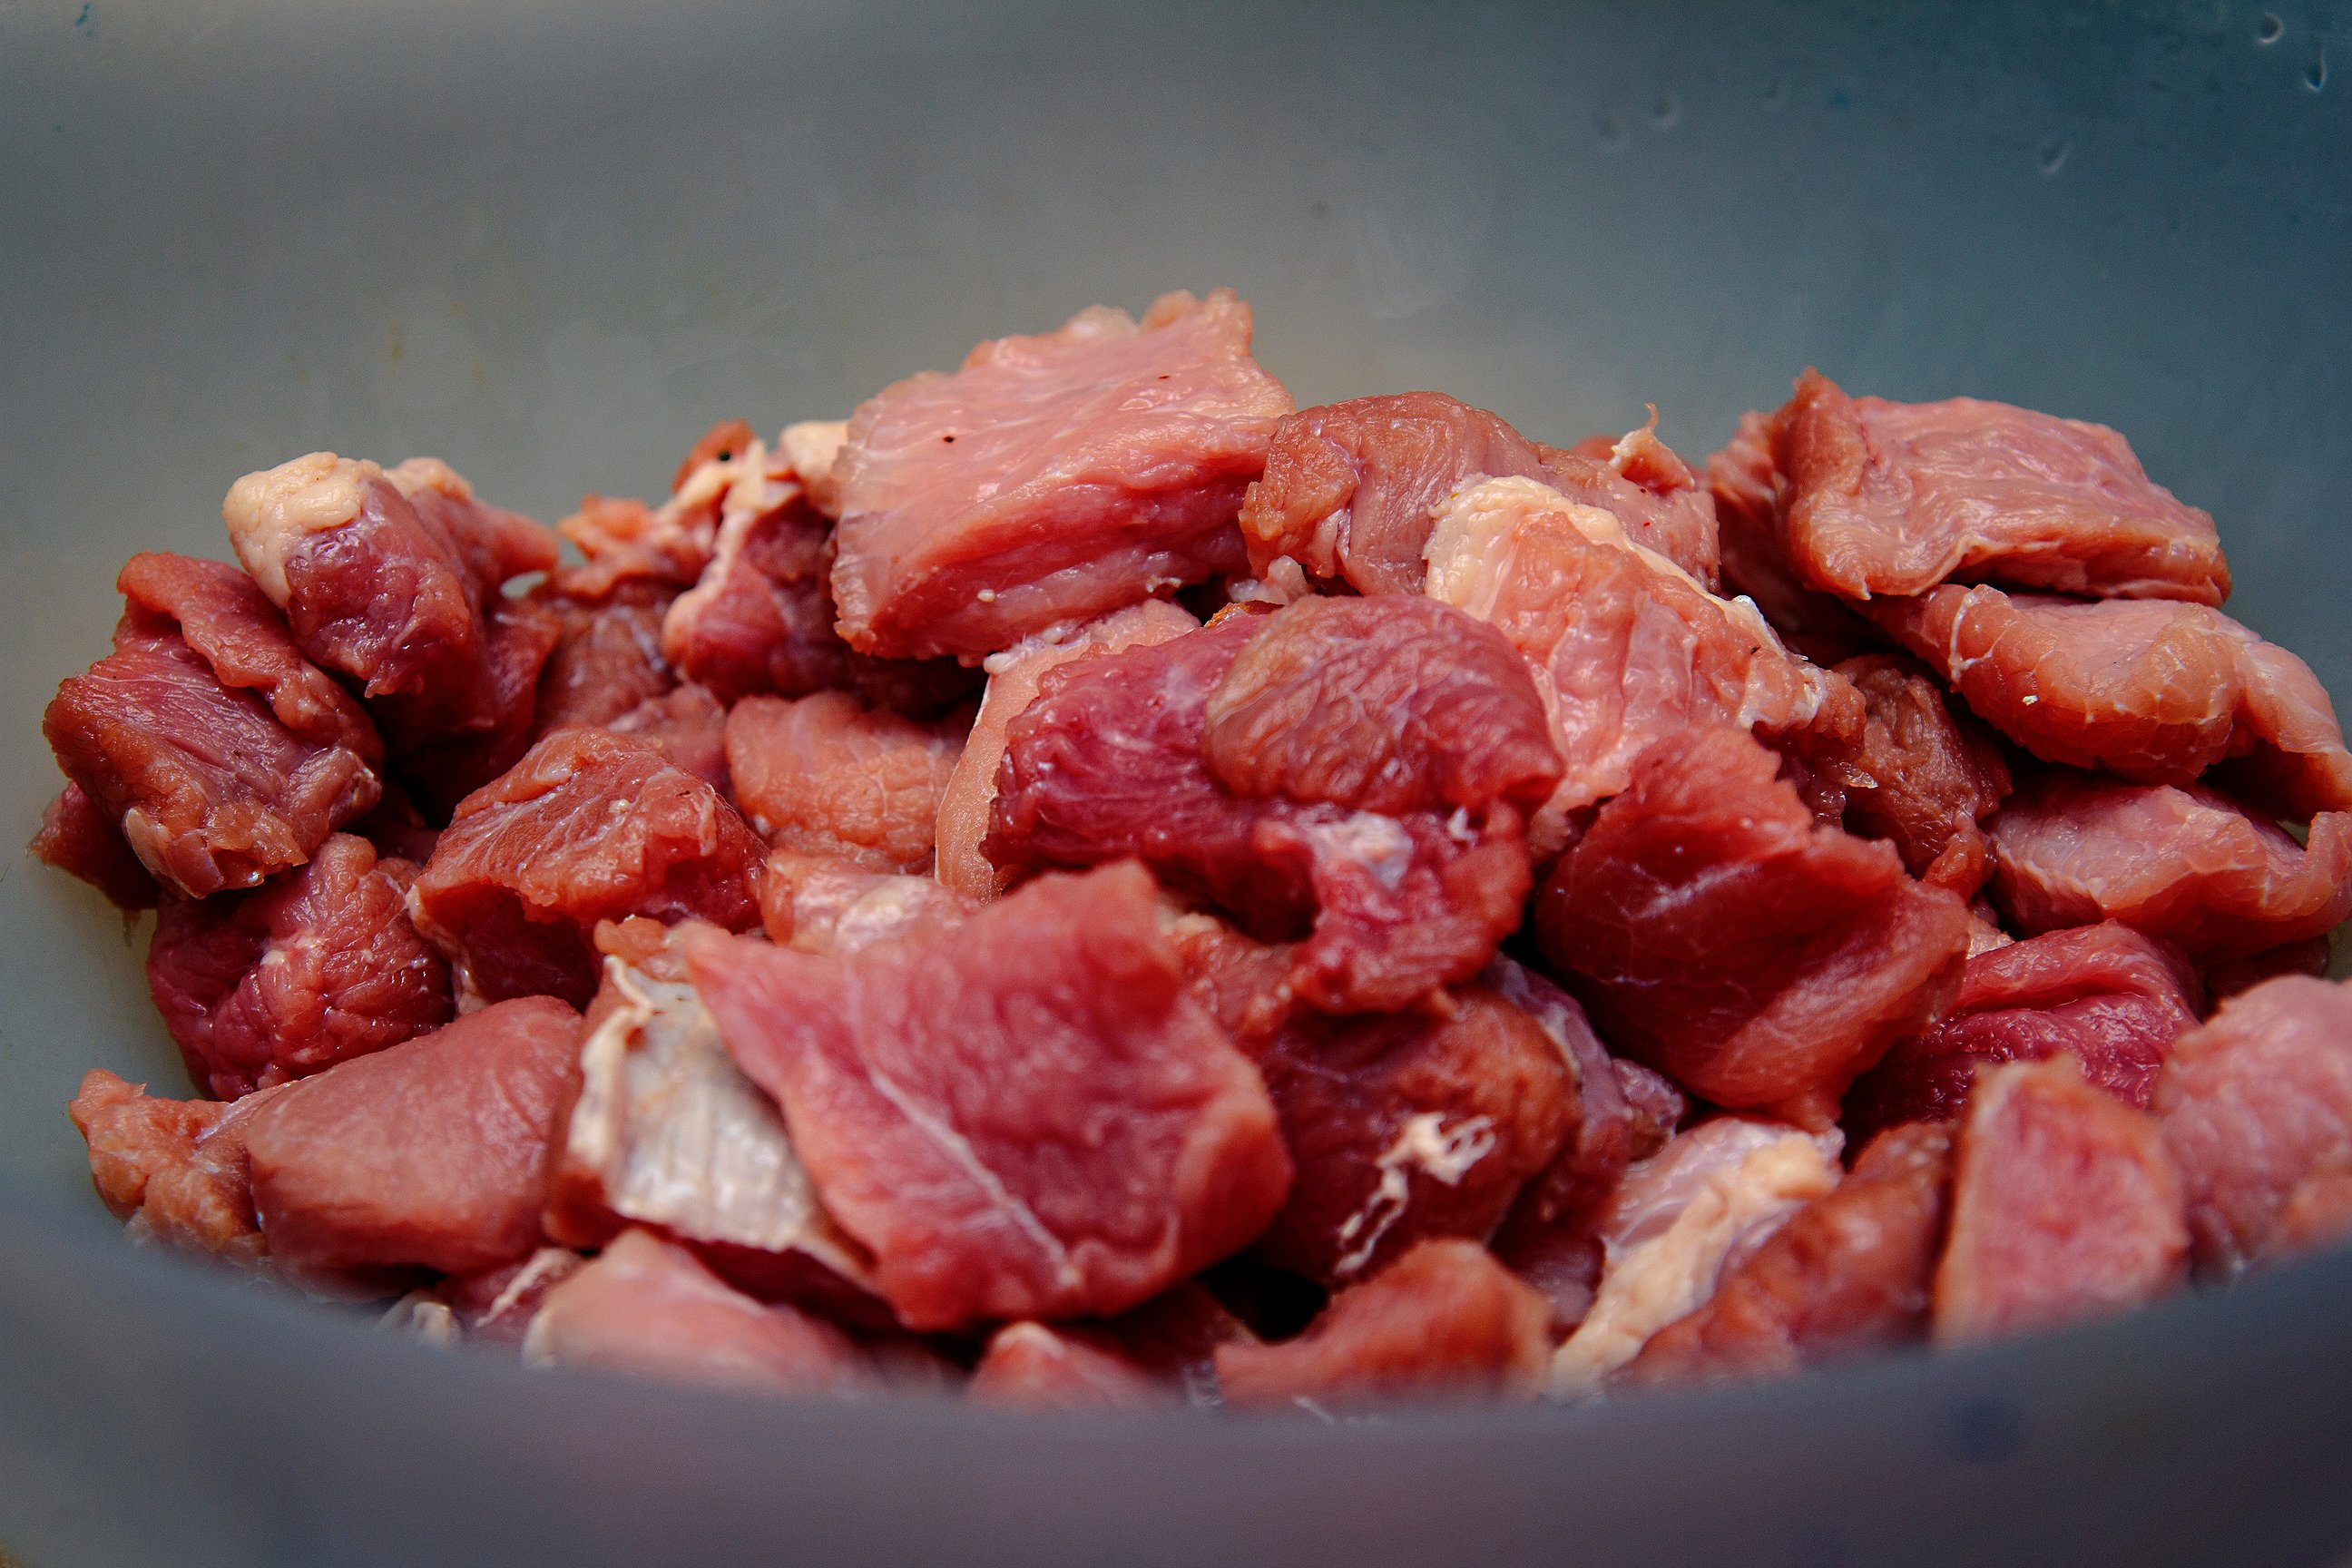
2. Trim, trim, trim
Few things determine a cut of meat’s palatability more than sloppy knifework. Deer and elk meat is mostly lean to begin with, but fat and membranous tissue left attached can definitely ruin an appetite.
Deer and elk fat is different than beef or pork fat. Typically deer and elk fat tastes gross, but that’s just general consensus and one writer’s opinion. The goal when processing deer or elk (or really any red meat for that matter) is to get rid of as much fat, stray hairs and dirt, and membrane as possible. It may feel like wasting bits of a hard-earned animal, but with some patience and skillful knifework, it can ensure the freezer will be filled with the best-tasting cuts of meat.
3. Low and slow
Some cuts lend themselves better to roasts than others. While steaks hog all the glory, roasts are an overlooked approach to serving up big game — and perhaps the simplest.
One of the best perks of being your own butcher is determining how much of one cut to set aside, then fill the freezer accordingly. Then, when Sunday morning rolls around, all that's left to be done is pull a roast out of the freezer and pick up a few ingredients from the store.
Roasts are not only simple, but they can feed a lot of people — or one person for several days. Slow-cooking for longer periods, whether in a crockpot or oven, keeps the meat tender and savory.
With nothing more than a crockpot, a can of stock and some root vegetables, you can have a cheap and easy supper cooking in the background and ready at the end of a long day. There is no shortage of roast recipes, including ones for wild game meat specifically. Do some digging and find one that takes the traditional “potatoes and carrots” to a whole other level.
HOT TIP: You’ll hear the dish osso buco thrown around a lot these days. Meaning “bone with a hole,” making osso buco can be a creative, new way to slow cook the bone-in shanks and impress friends with a fluency in Italian.
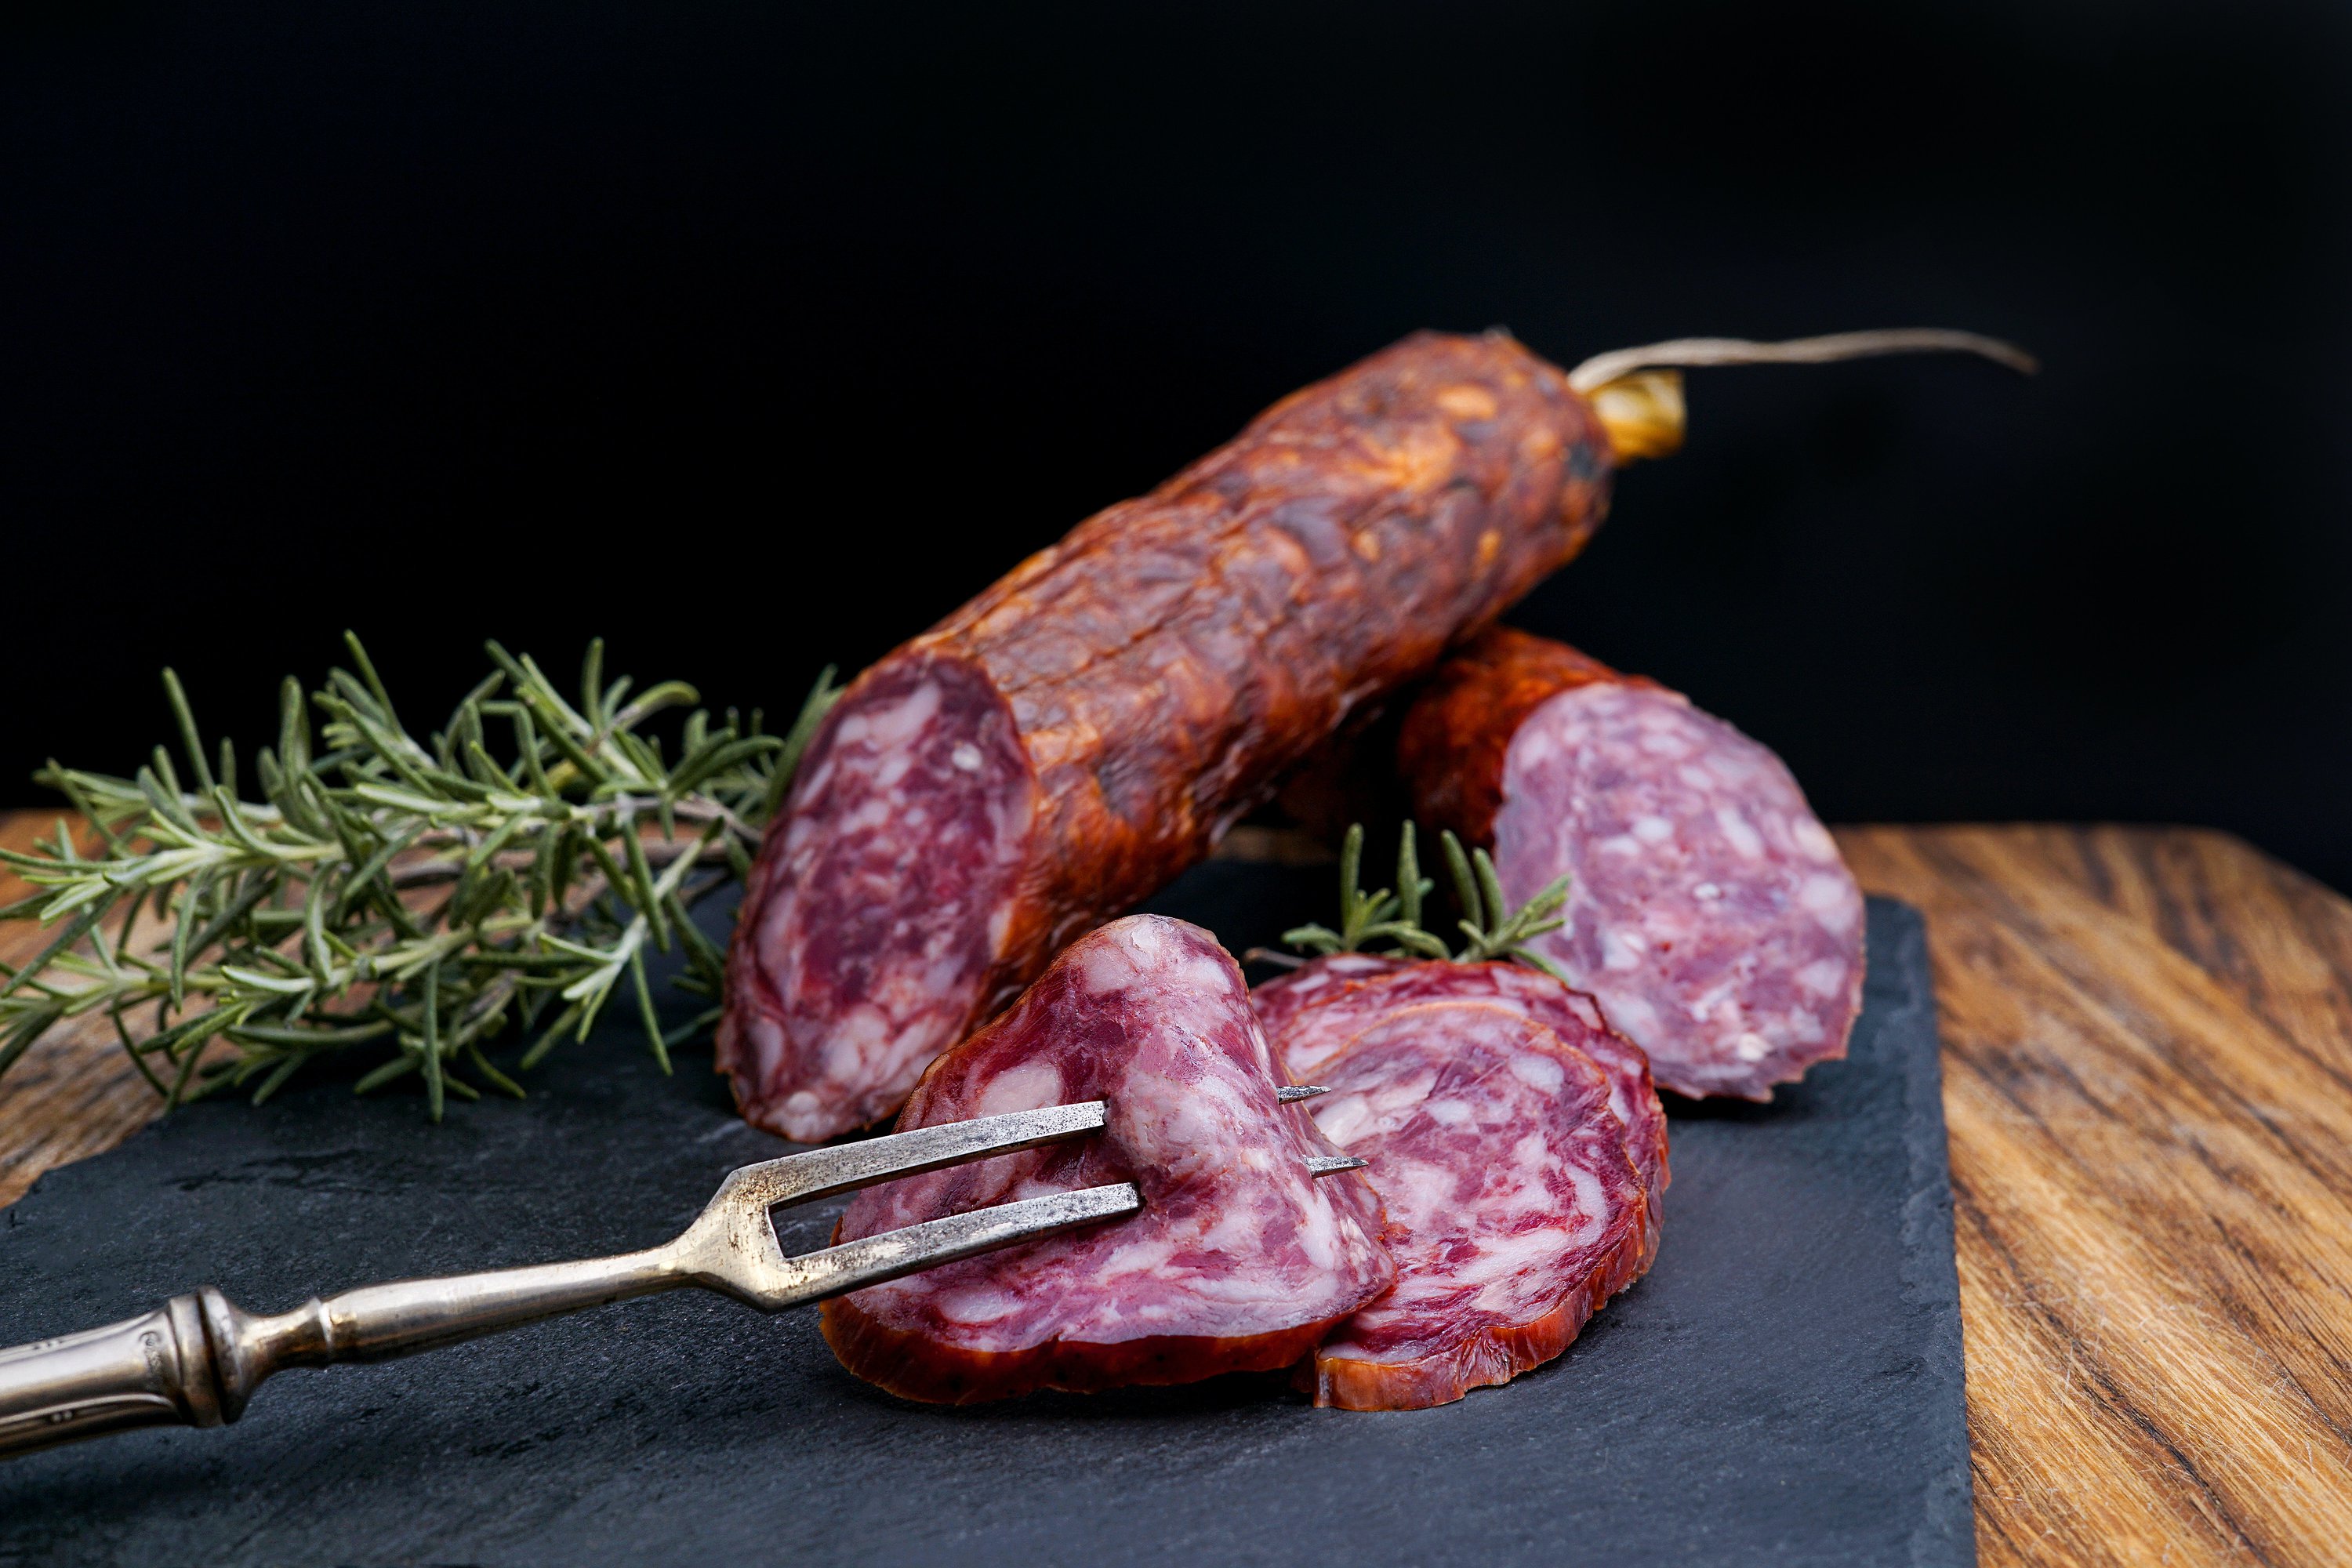 Smoke a pepperoni wild game meat stick.
4. Smoke 'em if you got 'em
Setting aside some meat for the smoker is a classic move in many a hunter’s playbook. There are tons of ways to smoke wild game meat, but some of the most popular include summer sausage and pepperoni sticks. Both options are delicious, portable foods that can help fuel next year’s hunt with this year’s hunt.
Of the two, sausage can be a little more difficult with the added step of stuffing the meat into casings. After grinding a mixture of venison and pork then stuffing the casing, smoke the sausages at low temperature for several hours. These make fantastic appetizers and camp food, and freeze them for later use.
Pepperoni sticks, also portable, are the perfect pocket snacks next to jerky (more on that next). Like summer sausage, they do require some extra work grinding the meat and incorporating the right amount of spices. Find pepperoni-size casings at specialty stores, sporting goods stores or online, as well as whole kits for making pepperoni sticks.
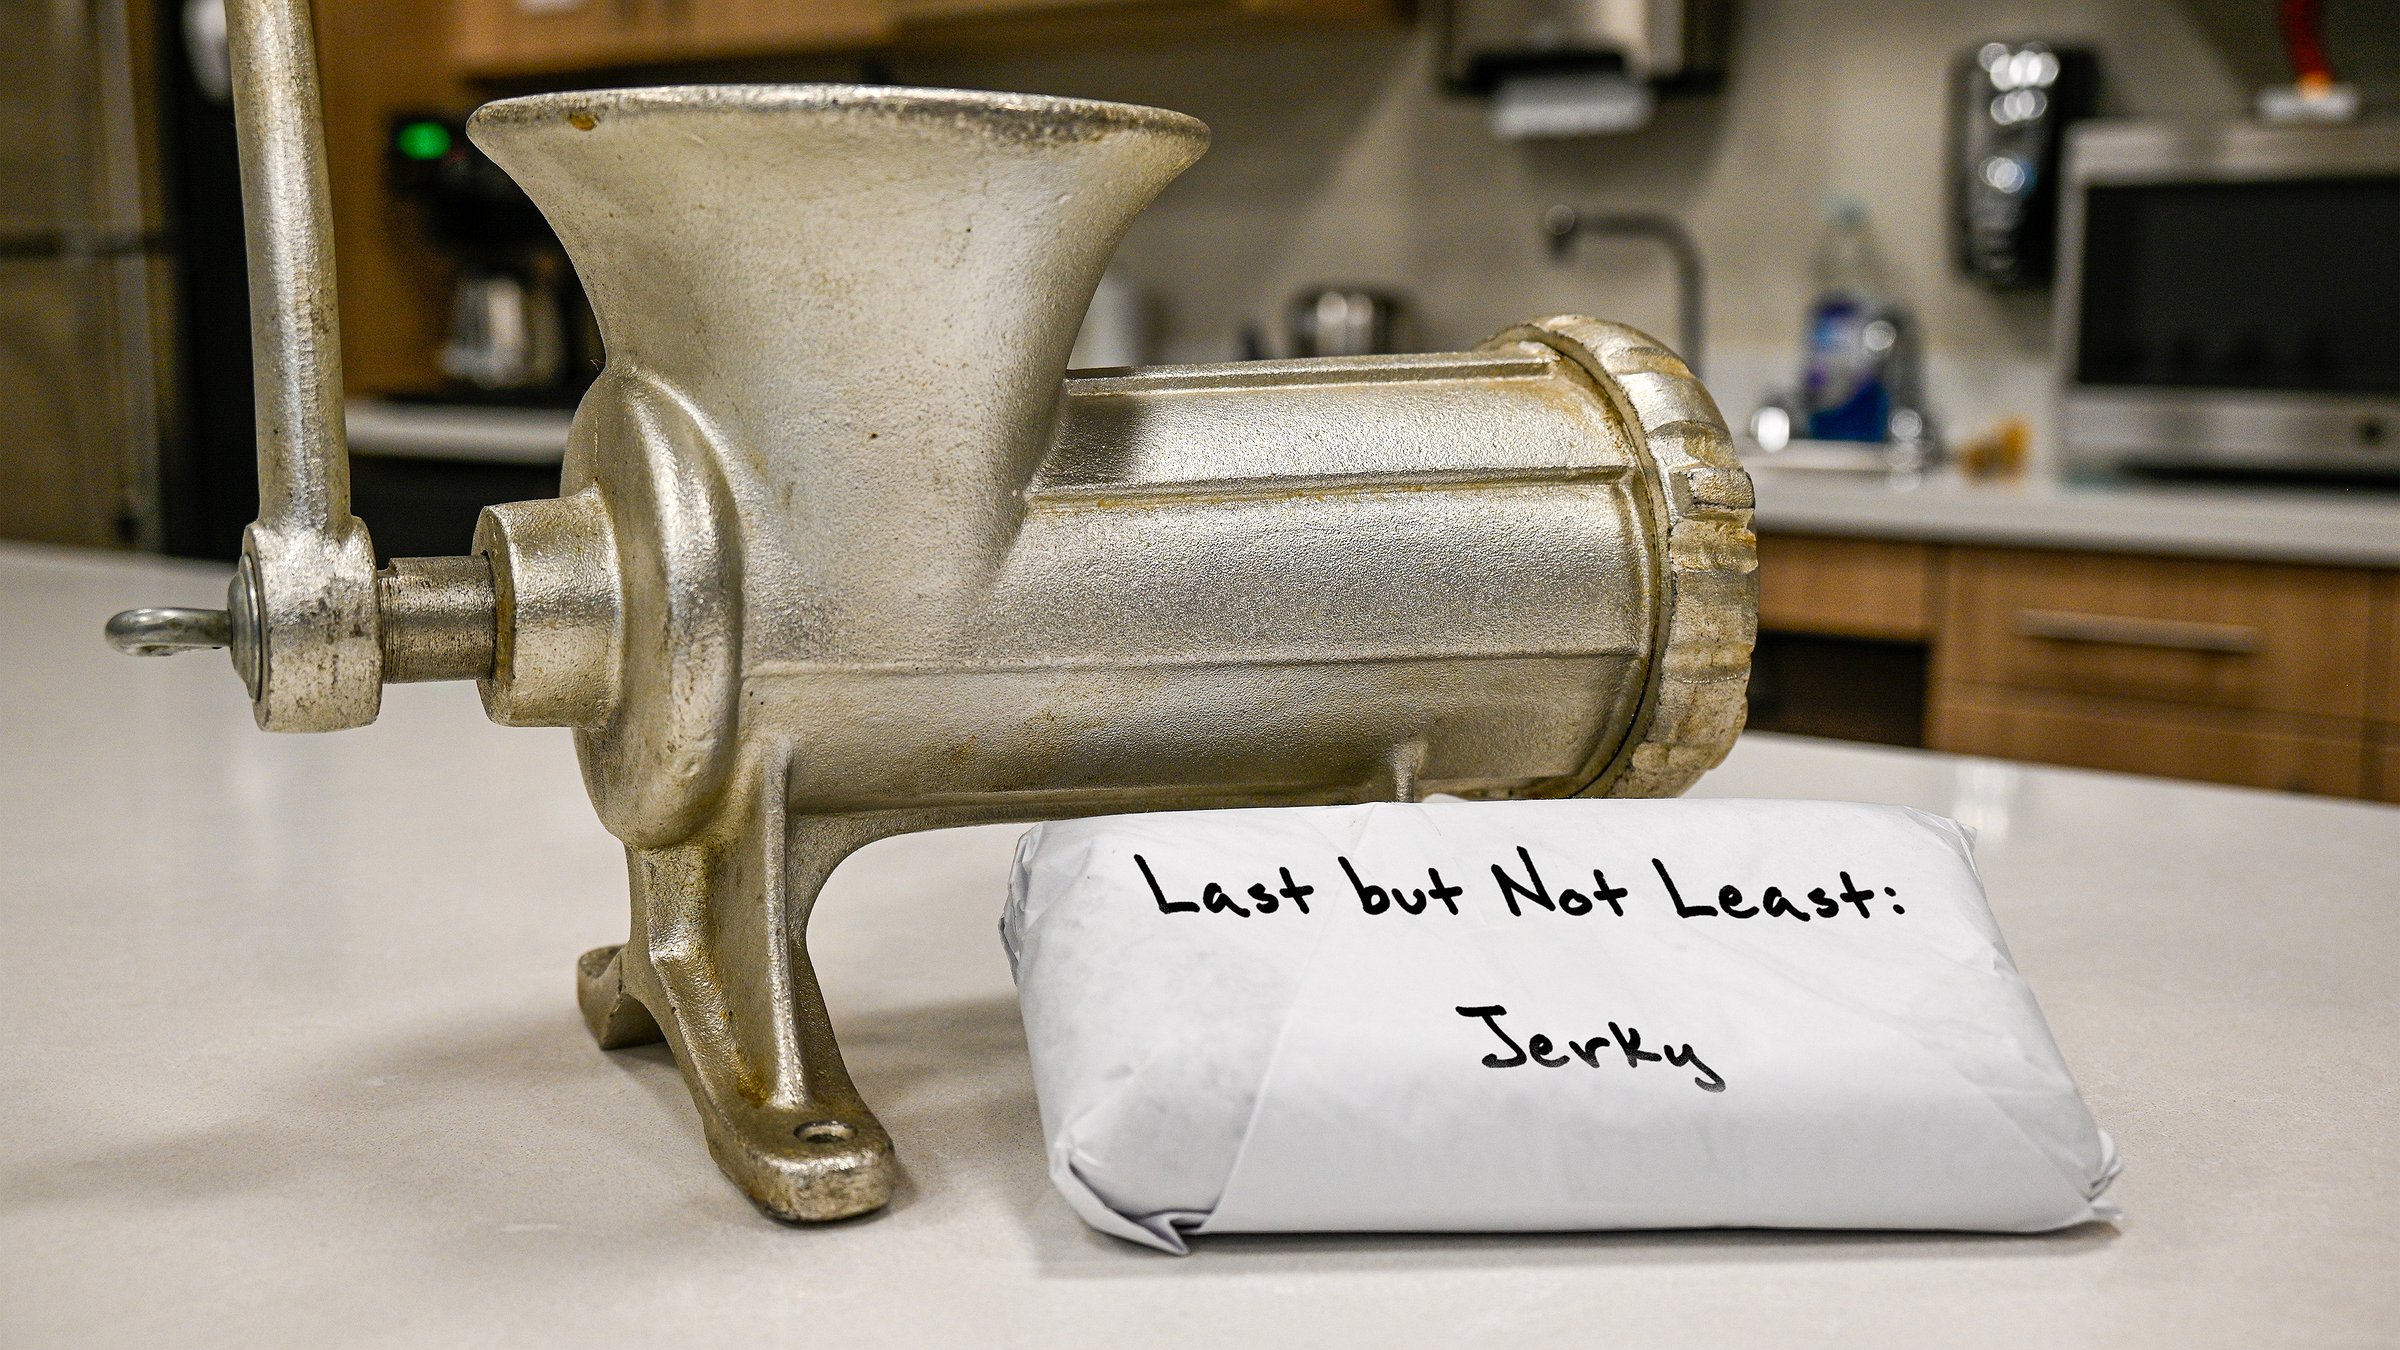
5. Last but not least: Jerky
Ever the crowd-favorite, making jerky can be a fairly simple process and doubles as a reward when a stomach starts growling 4 miles from the truck. Jerky easily finds a home in your hunting pack and stays edible for a long time (if frozen).
The key with making jerky lies in the thinness of the meat. Thinly slice the larger chunks of meat into strips. Then soak the slices in a marinade for several hours or overnight, before smoking or drying them.
Drying is most commonly done in a food dehydrator, but smokers or even an oven at its lowest setting with the door open ajar can do the job just fine. The key is just low, low heat for a long, long time.
There are many jerky recipes available in cookbooks or the internet. Remember, when making jerky, the pieces should be dry, but still supple. Too dry and it will be brittle and crunchy, which is overcooked. Although jerking is a method of preserving, it’s still best to store it in the refrigerator or freezer.
FUN FACT: No, the word “jerky” does not get its name from the act of ripping dried meat with teeth. Instead, the word comes from the Quechuan (Incan) word ch’arki, meaning “dried flesh,” and didn’t come into the American English vocabulary until 1850.
More tips for processing game meat
• Pay attention to sanitary guidelines and cooking temperatures. Use a meat thermometer to ensure meat has reached the proper temperature when smoking or drying.
• Know what flavors like and dislike, and learn the basics of a recipe and adjust to suit your tastes. Don’t be afraid to experiment.
• If it’s a first attempt with a new recipe, start with a small batch. If it doesn't turn out perfect, change it for the next batch.
• If making patty sausage, cook some as soon as it’s done. Put a small, thin patty in an oiled frying pan, cook it a few minutes and taste it, then add more seasoning if needed.
• When freezing, don’t put too much meat into one package. Aim for each package to hold enough for one meal.
• Take advantage of prepackaged seasoning mixes. They take a lot of the hassle out of figuring out which spices to use and how much, and many are created for wild game, not domestic meats.
• Get a kitchen scale that will weigh about 10 pounds of meat. It will ensure the right ratio of game meat to pork, pork fat or beef fat.
• • •
Connor Liess is a public information specialist with the Idaho Department of Fish and Game.