

When good compost goes bad: Herbicide residue in the garden

Candace Godwin
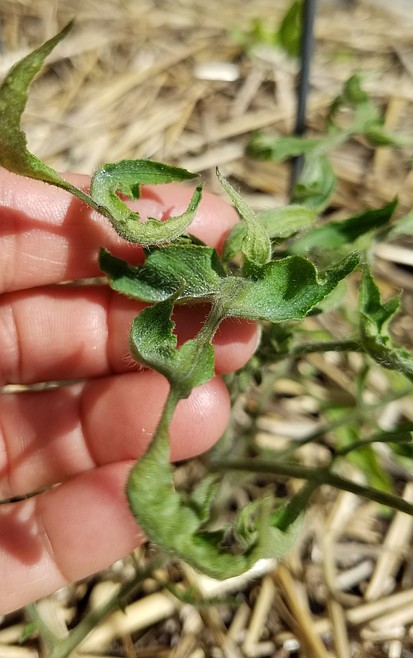
Spindly stems and cupped or curled leaves, as shown on this tomato plant, can indicate herbicide residue in the soil.
All photos by CANDACE GODWIN
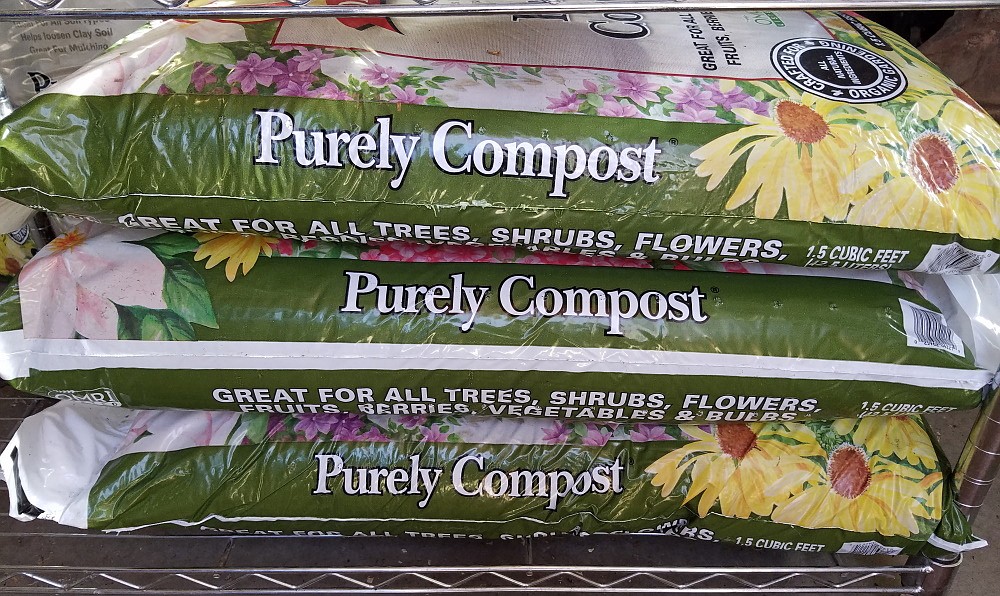
Even bagged compost can contain herbicide residue. It’s wise to test a sample before applying the material to your soil.
All photos by CANDACE GODWIN
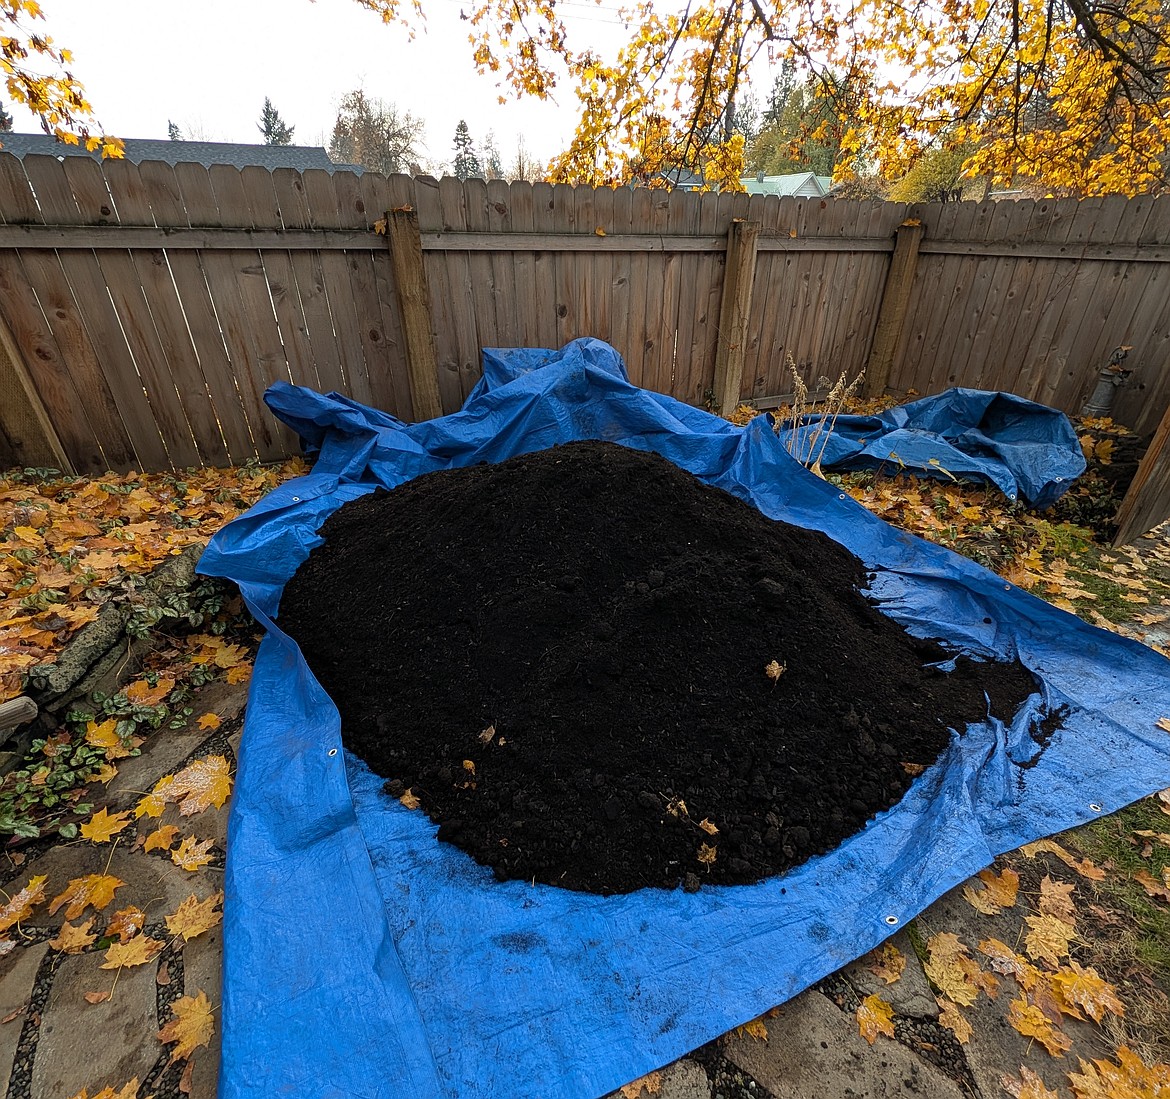
Always ask about the source of bulk compost contents and ask for a small sample to test for herbicide residue before buying.
All photos by CANDACE GODWIN
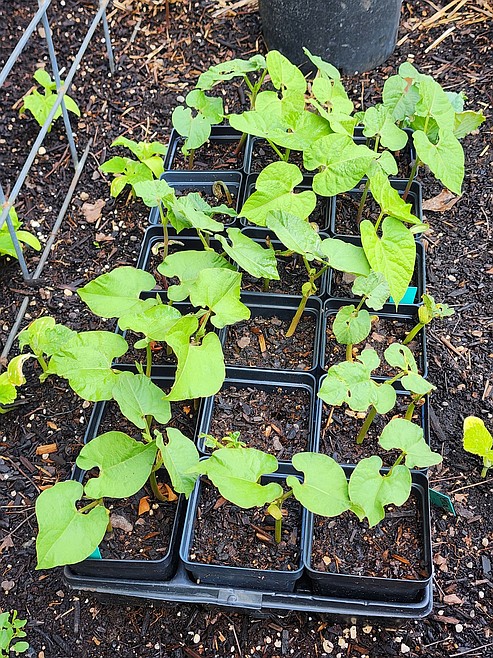
Bean and pea seeds are highly sensitive to herbicide residue; think of them as the canaries in the compost pile. Testing seeds in the suspect material can confirm or rule out contamination.
All photos by CANDACE GODWIN
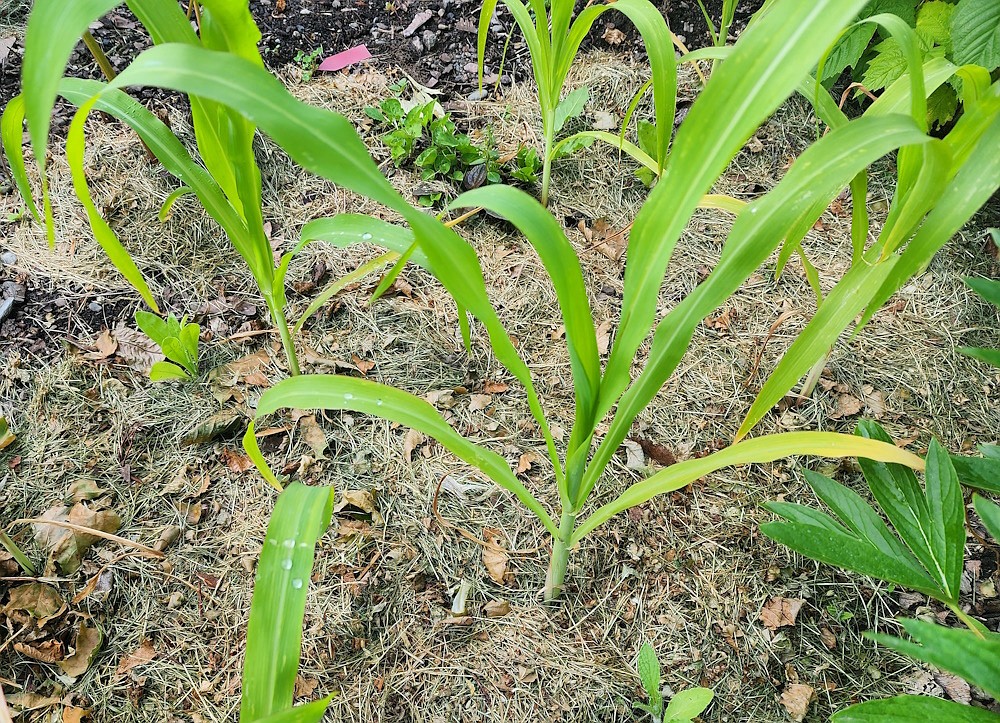
Grass clippings are an excellent organic material for compost or mulch — just be certain that they do not contain any weed-and-feed or other broadleaf herbicide products, which can contaminate the soil.
All photos by CANDACE GODWIN
“I just want to cry,” a distraught gardening friend told me. “Everything I planted this spring is just sitting there — there’s hardly any growth, and some plants look strange.”
With a sinking feeling, I asked about herbicide use, disease, watering issues, or other stresses. There were none — nothing unusual.
And one more question … have any amendments been added to the soil recently?
“Yes, we added compost to the beds in spring.”
My suspicions were confirmed. The only affected beds were those with newly added compost. Her description strongly suggested the compost contained herbicide residue.
And here is the part that hurts: my friend was doing exactly what she was supposed to do, what we all do and recommend — adding compost to improve the soil.
This is a case of good compost gone bad, and it can happen to anyone (including me).
How Herbicide Gets into Compost or Manure
Classic clues of herbicide residue include poor germination, stunted growth, twisted or cupped leaves, distorted growth, misshapen fruit, and reduced yields. These symptoms alone don’t prove contamination; herbicide drift, disease, insects, and other stresses can look similar. However, the case becomes much stronger when affected beds have recently received a topping of compost or manure.
So, how do herbicides get there?
It can be a long, convoluted path from field to garden. Typically, it starts in the pasture, hayfield, wheatfield, or lawn.
Certain persistent broadleaf herbicides are sprayed to control weeds without harming grasses. Livestock eat treated forage, and the herbicide passes through their digestive systems and into the manure.
Treated pasture/hay → livestock → manure → compost → garden → sadness
Other routes include treated lawn clippings and herbicide-treated straw used as animal bedding, which eventually enter the manure or compost pile.
Meet the Troublemakers
If applying compost is on your fall to-do list (and it should be), you’ll want to take note of these three compounds:
• Aminopyralid
• Clopyralid
• Picloram
These are the three most common active ingredients in growth-regulating herbicides that disrupt the development of broadleaf plants. In a hayfield, that’s weeds. In your garden, that’s tomatoes, peppers, squash, beans, and more.
And here’s the difficult part: they can injure sensitive plants at extraordinarily low concentrations — it takes very little. They can survive an animal’s digestive system and composting, including commercial hot composting, and may remain active for months or even years, depending on the herbicide and conditions. Ugh — tears for sure.
Bulk or Bagged: The Issue Remains
You might think herbicide residue only pertains to the mystery manure found in someone’s pony pasture. Unfortunately, it doesn’t.
Compost, manure, and soil blends can contain feedstocks from many sources. That means both bulk materials and bagged commercial products may contain herbicide residue. A bag doesn't guarantee that its contents are residue-free.
The Canary in the Compost Pile
By now, you're probably considering swearing off compost altogether; don't — it's too important for soil health. Fortunately, you can test it before it becomes a garden disaster.
Before spreading unfamiliar compost or manure, run a simple plant bioassay. It’s not complicated; no lab coat or clipboard required — just pea or bean seeds, clean potting soil, and the compost in question. Beans and peas are highly sensitive to these herbicides, making them useful little canaries in the compost pile.
Collect several samples of the suspect material, mix each with known-clean potting soil, plant several peas or beans, and grow identical control plants in clean soil. Compare the new growth over two to three weeks. If the test plants curl, twist, or become stunted while the controls grow normally, you've got a pretty compelling case of herbicide residue.
When It’s Already in the Garden
But what if, like my friend, you've already added the contaminated compost?
First, stop adding contaminated material. Identify the likely source, remove affected plants and roots, and don't compost them.
Wait it out. Time and microbial activity will eventually break down the herbicide, though recovery can take months or years. Continue bioassay testing until sensitive plants grow normally.
Give degradation some help. Keep the soil reasonably moist and biologically active to encourage the microbes that break down these herbicides. Add clean organic matter and work it in — this is one situation when firing up the rototiller is encouraged. Aeration increases oxygen and microbial contact (just don't get too crazy with the tiller).
A cover crop may help, too. Tolerant grasses such as barley, oats, corn, or wheat can keep the soil biologically active as contamination declines. Some research suggests that cover crops may also aid remediation, but evidence is limited. Remove the finished crop and roots rather than composting or consuming them.
Remove and replace the soil. It's expensive and drastic, but it may be practical for raised beds or small gardens with severe contamination. Don't compost the removed soil; check locally for appropriate disposal options.
What not to do:
Solarize: There isn't sufficient evidence that solarization reliably eliminates persistent herbicides.
Add fertilizer: Herbicide-damaged plants aren't suffering from a nutrient deficiency. Feeding them won't remove the herbicide.
Assume winter will fix it: One season isn't a guarantee. Test before planting.
Rely on dilution: Clean soil lowers the concentration, but even extremely low residue levels can damage sensitive plants.
Prevention is the Best Option
Before acquiring bulk compost or manure, ask where the material came from, whether herbicides were used, and whether the supplier conducts bioassays. Unfortunately, sellers don't always know the origin of every compost feedstock.
For manure, ask what the animals were fed and whether herbicides were used on their hay or pasture. Even the animal owner may not know how purchased forage was treated. With bagged products, there may be no one to ask.
When the source is uncertain, test before you spread. Ask for a sample before buying in bulk; with bagged products, test a small sample first.
Is this a pain to do? Absolutely. But sacrificing a couple of weeks and a handful of bean seeds is considerably easier than remediating an entire garden.
Test Now, Grow Later
My friend thought she had failed at gardening. Instead, she'd encountered something she couldn't see, smell, or identify by looking at the compost she'd added. We assume organic matter is safe.
But soil amendments deserve the same scrutiny we give seeds, fertilizers, and pesticides. If you're buying compost you're unfamiliar with, test it. If you suspect contamination, test it. If you're waiting for the soil to recover, test it.
Know the source of what you're putting in your garden — and when you don't, test it.
More information on soil remediation and instructions on how to conduct a bioassay are included in this article that is posted on The CdA Coop website: https://thecoeurdalenecoop.com
• • •
Candace Godwin is a certified Idaho Master Gardener, garden consultant, writer, and owner of The Coeur d’Alene Coop (thecoeurdalenecoop.com), a licensed nursery offering seasonal online plant sales.
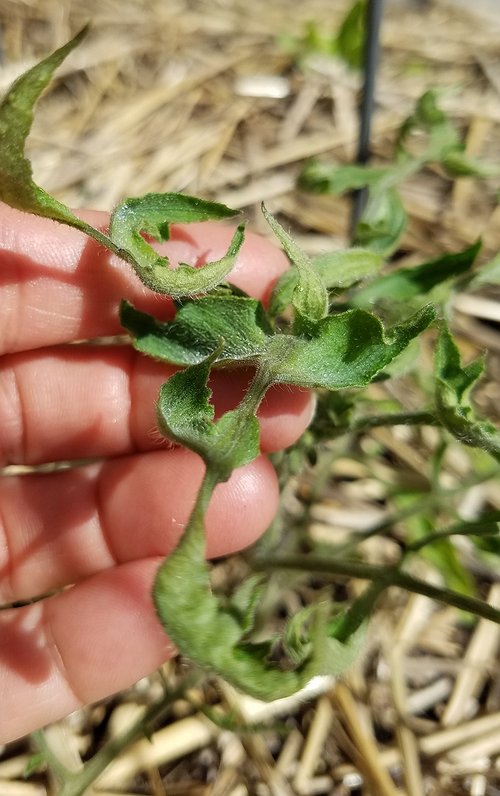 Spindly stems and cupped or curled leaves, as shown on this tomato plant, can indicate herbicide residue in the soil.
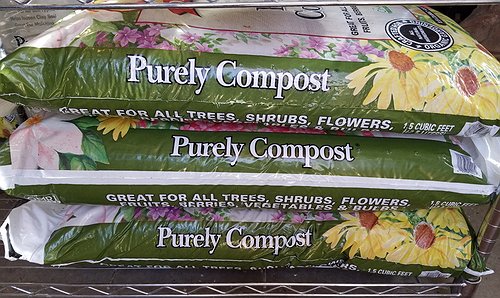 Even bagged compost can contain herbicide residue. It’s wise to test a sample before applying the material to your soil.
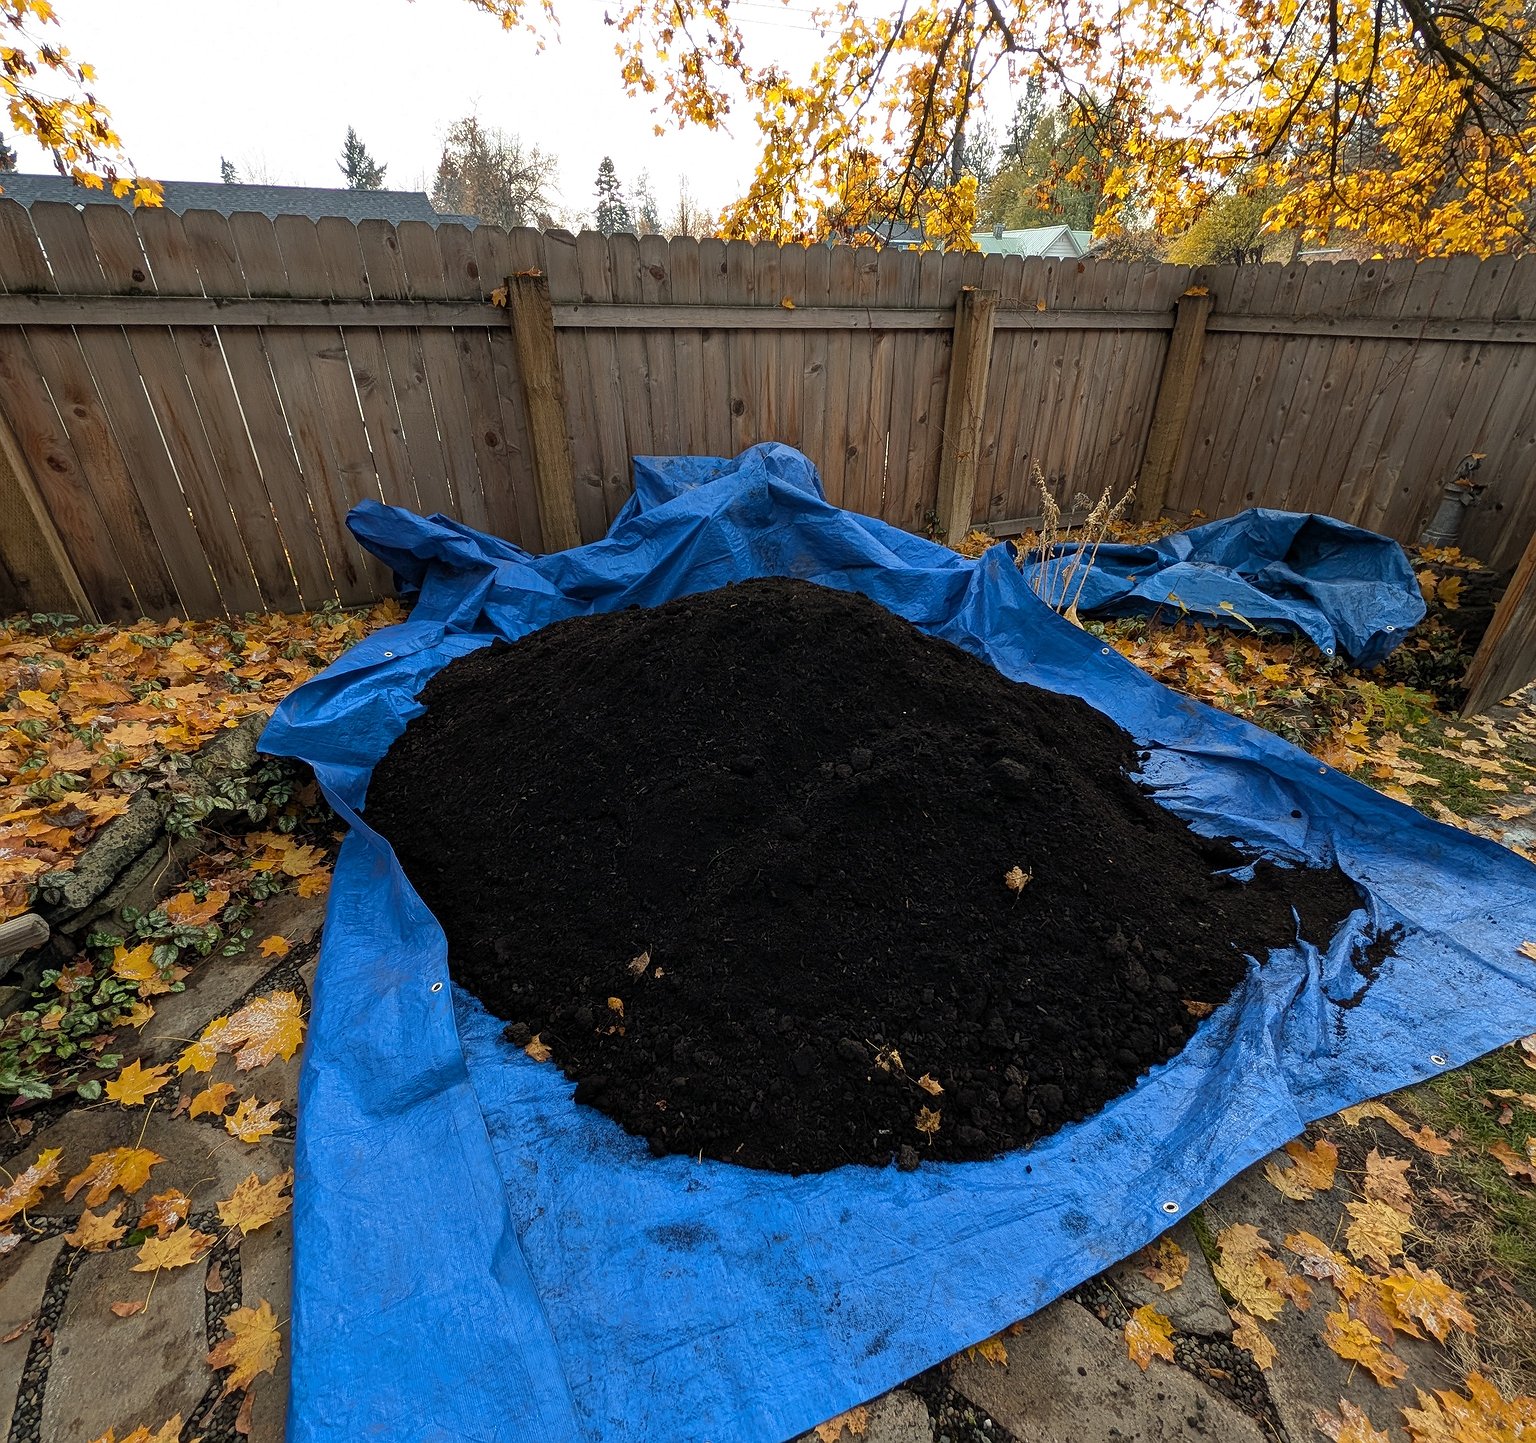 Always ask about the source of bulk compost contents and ask for a small sample to test for herbicide residue before buying.
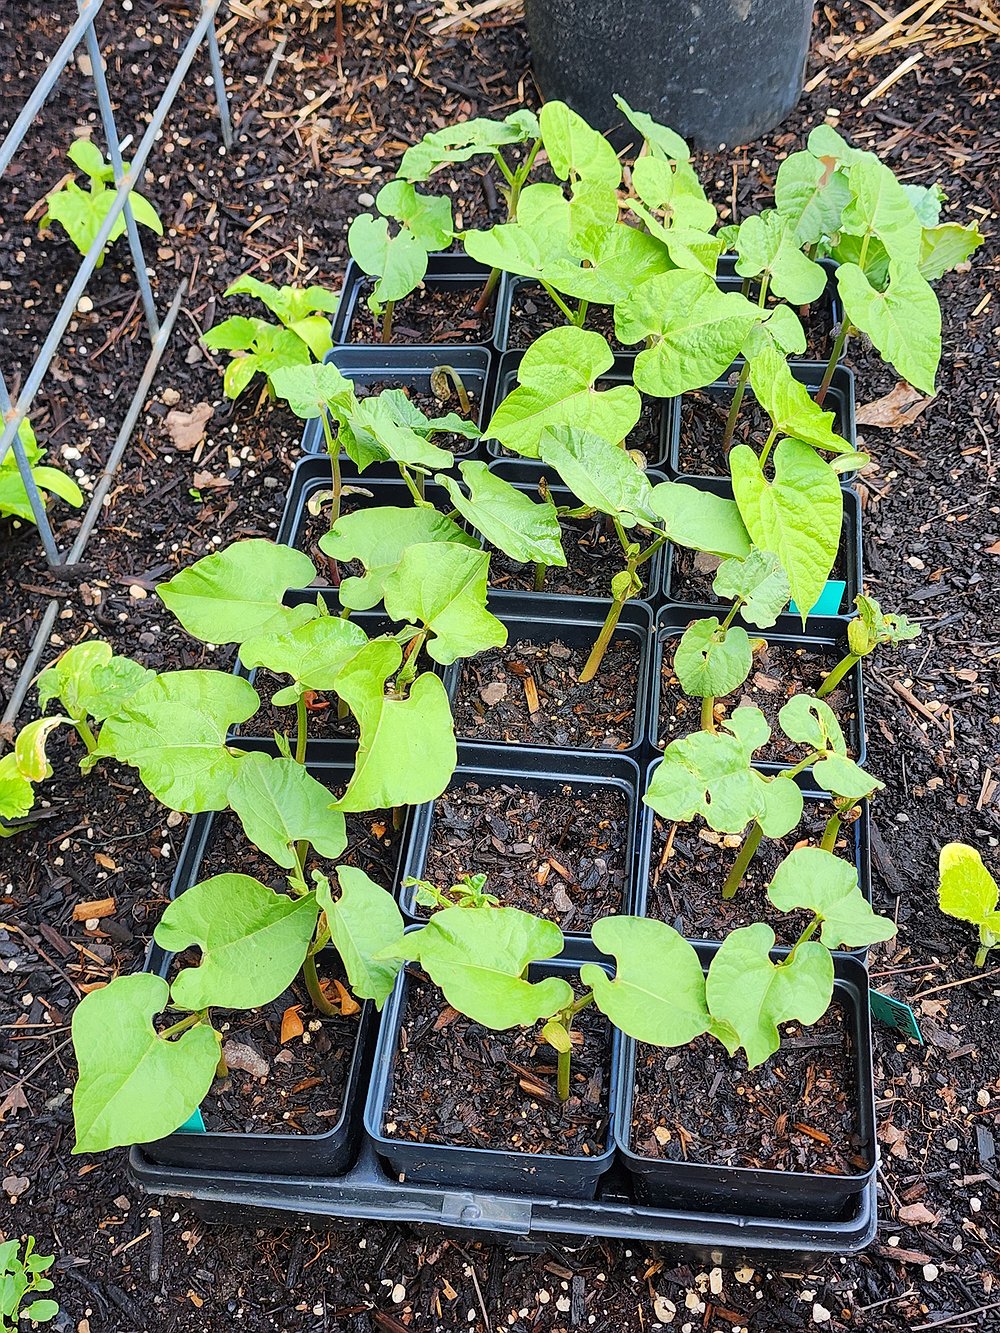 Bean and pea seeds are highly sensitive to herbicide residue; think of them as the canaries in the compost pile. Testing seeds in the suspect material can confirm or rule out contamination.
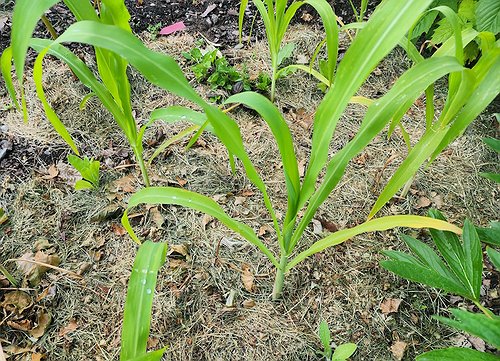 Grass clippings are an excellent organic material for compost or mulch — just be certain that they do not contain any weed-and-feed or other broadleaf herbicide products, which can contaminate the soil.